In my previous article Creating Provider-Hosted App in Office 365 and Azure Using VS 2013: Part 2 you saw how to do the following procedure:
Publish the web to Microsoft Azure Websites
Register the App in Office 365
Configure the app settings for Azure Website
In this article you will perform the following procedure:
Publish the app.
Upload the app file to the app catalog in Office 365.
Add the app to the Office 365 site.
Publish the app
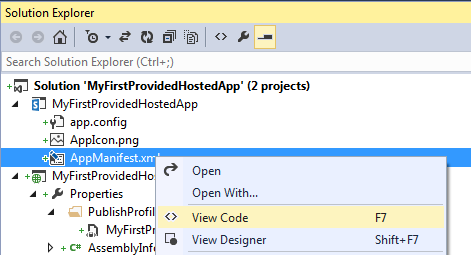
In the Solution Explorer, expand MyFirstProvidedHostedApp and then right-click on AppManifest.xml. Click on View Code.
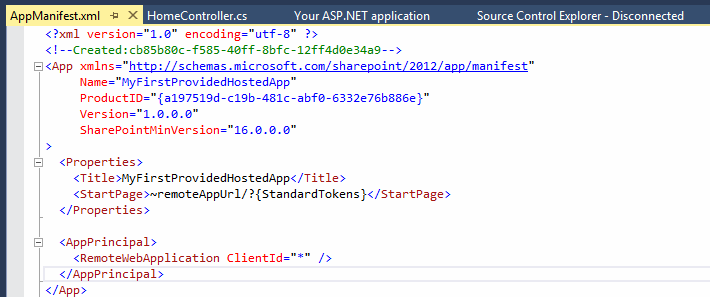
AppManifest.xml will have the following metadata.
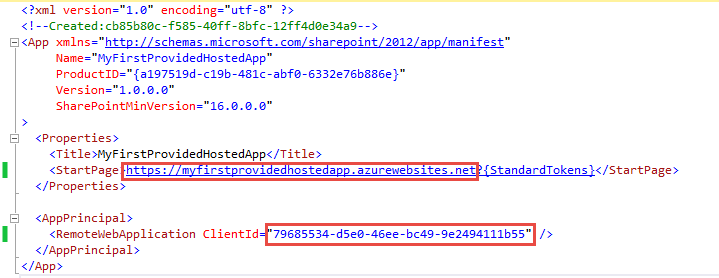
Replace ~remoteAppUrl/ with the Azure website URL https://myfirstprovidedhostedapp.azurewebsites.net/ and replace ClientId with the Id that we generated previously. Ensure that the Azure Website URL has https.
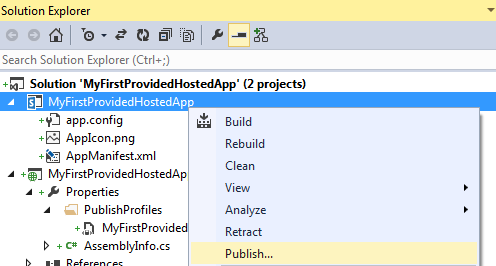
Save the AppManifest.xml file. In the Solution Explorer, right-click on the app project and then click on Publish.
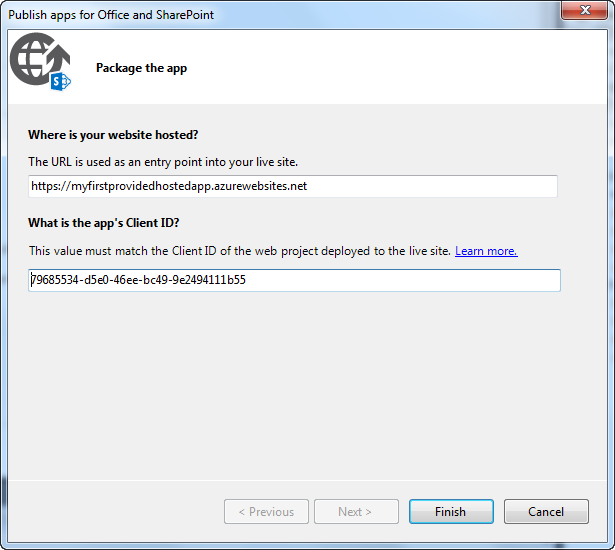
Click on the Package the app button.
Enter the Azure website URL (https://myfirstprovidedhostedapp.azurewebsites.net/) and the client Id as shown below. Ensure the URL has https.
Click on the Finish button.
The folder that contains the app file will be opened.
Upload the app file to the app catalog in Office 365
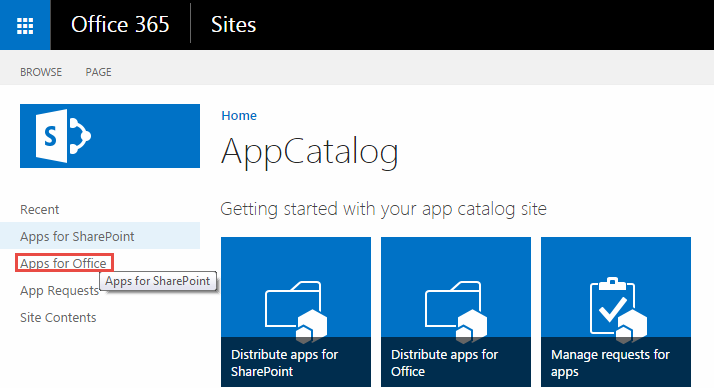
Log into the O365 App Catalog as an administrator (example: https://c986.sharepoint.com/sites/AppCatalog/).
Click on the Apps for SharePoint link in the Quick Launch bar.
Upload the app file.
Add the app to the Office 365 site
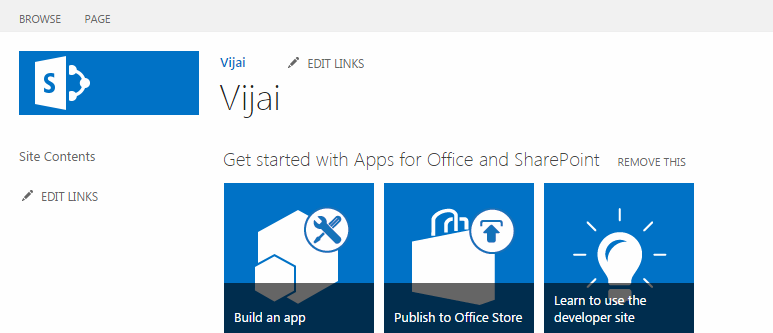
Log into the O365 developer site as an administrator (example: https://c986.sharepoint.com/).
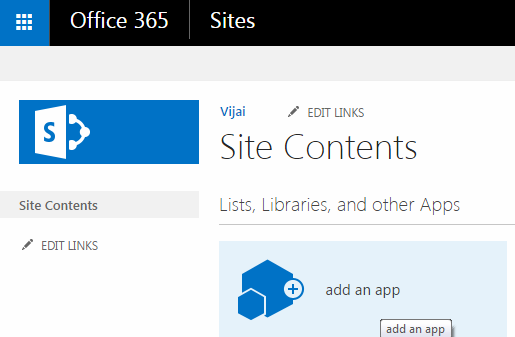
Click on Site Contents in the Quick Launch bar.
Click on add an app.
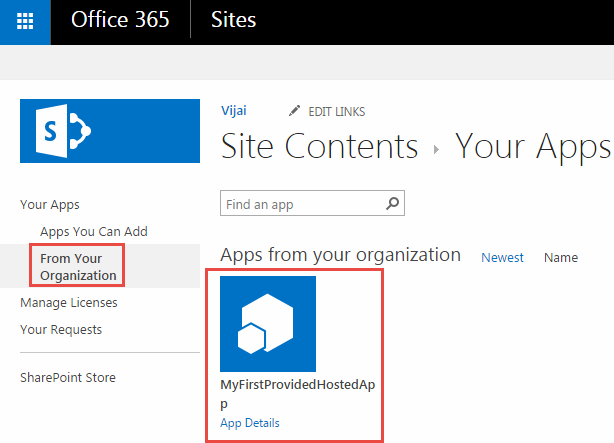
Click on the From Your Organization link in the Quick Launch bar and you will be able to see the provider-hosted app that we created. Click on MyFirstProvidedHostedApp.
Click on the Trust it button.
The app will be installed successfully as shown below.
Click on the app and it will be redirected to the Azure website as shown below.
Summary
Thus in this article series you saw how to create a Provider-Hosted app in Office 365 and Azure using Visual Studio 2013.















Comments