Export an SSL certificate from windows server.
Steps Involved:
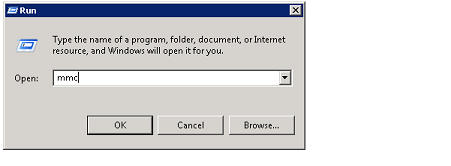
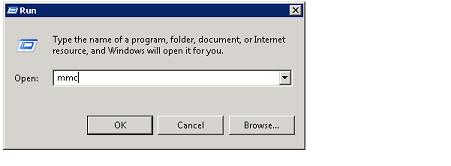
Go to Start => Run => Type MMC and then click on Ok.
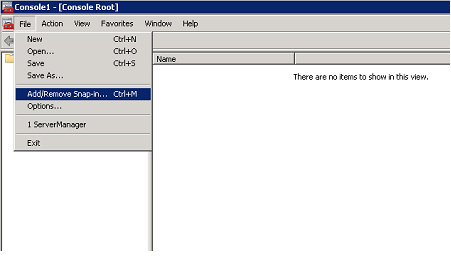
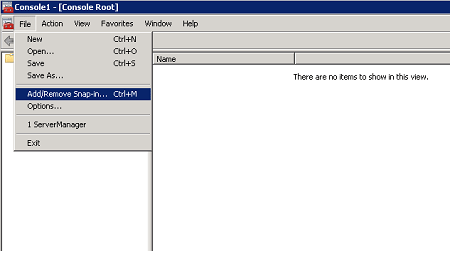
In Microsoft Management Console, Click on the File menu and then click on Add\Remove Snap-in...
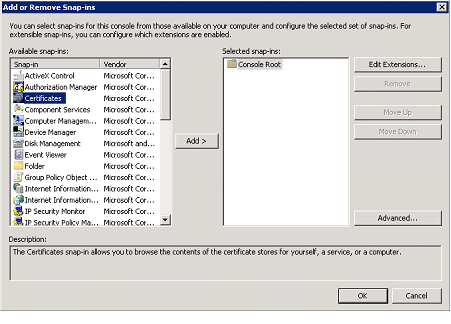
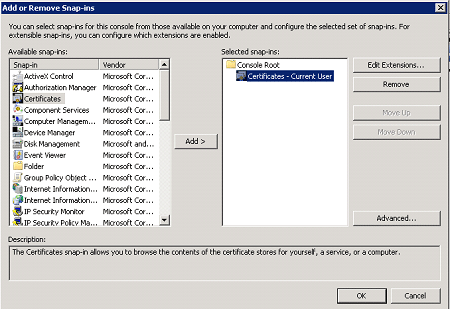
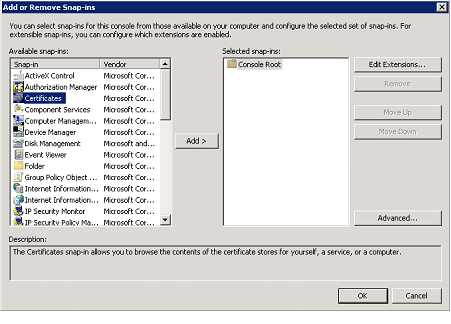
In the Add or Remove Snap-ins wizard, select Certificates from the available snap-ins and then click on Add.
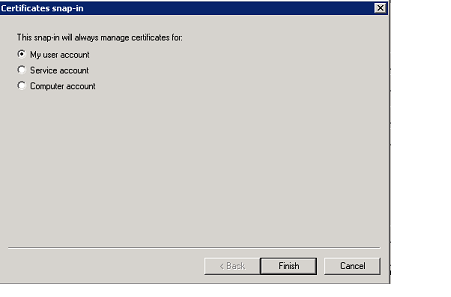
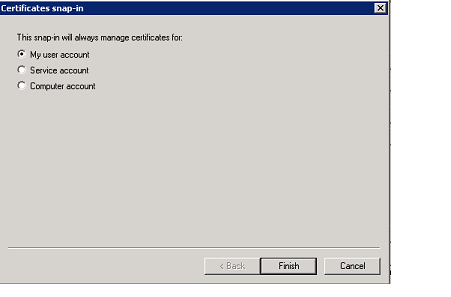
Select My user account and click on Finish.
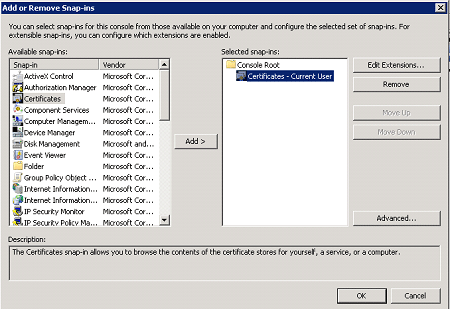
Certificate will be added and click on Ok.
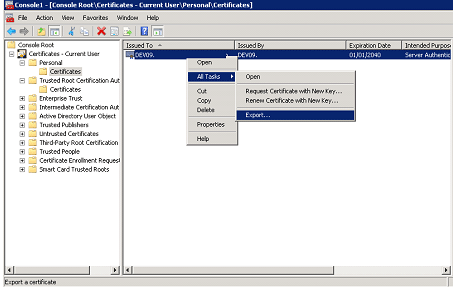
In the left pane expand Certificates, and then expand Personal.
Click on Certificates folder.
Right click on the certificate, click on All Tasks and then click on Export.
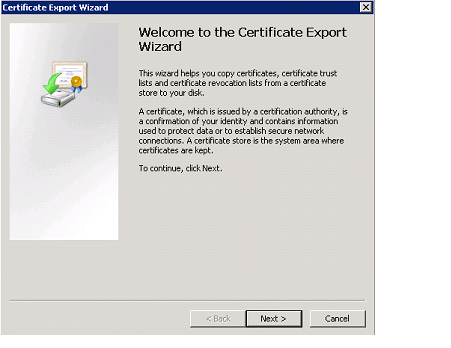
Certificate Export Wizard will pop up, click on Next.
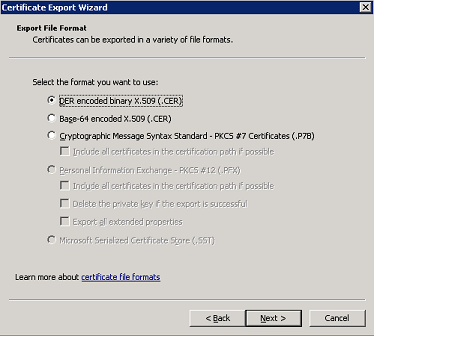
In the Export File Format select DER encoded binary X.509 (.CER) format.
Click on Next.
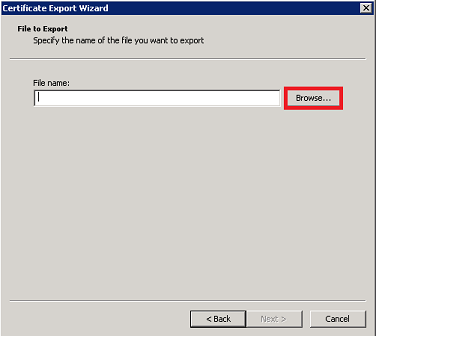
In the File to Export click on browse, select the location and enter the Name.
Click on Save, the certificate will be saved.
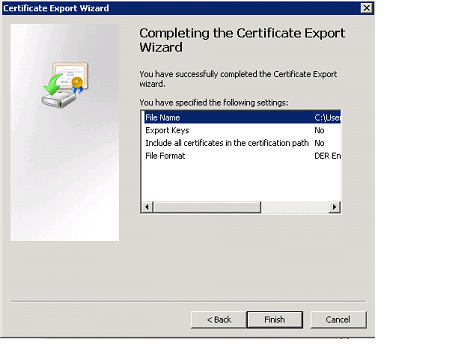
In the Certificate Export Wizard, click on Finish.
You will be getting the following pop up, click on Ok.
The certificate is exported successfully.
Import an SSL certificate to the windows server:
Steps Involved:
Go to Start => Run => Type MMC and then click on Ok.
In Microsoft Management Console, Click on the File menu and then click on Add\Remove Snap-in...
In the Add or Remove Snap-ins wizard, select Certificates from the available snap-ins and then click on Add.
Select My user account and click on Finish.
Certificate will be added and click on Ok.
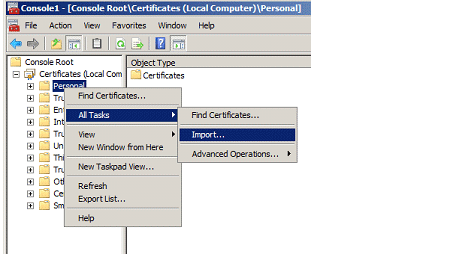
In the left pane expand Certificates, right click on the Personal folder, click on All Tasks and then click on Import.
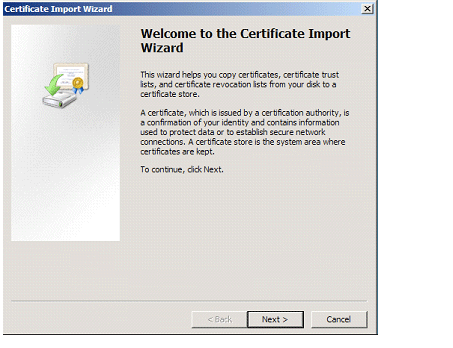
Certificate Import Wizard will pop up, click on Next.
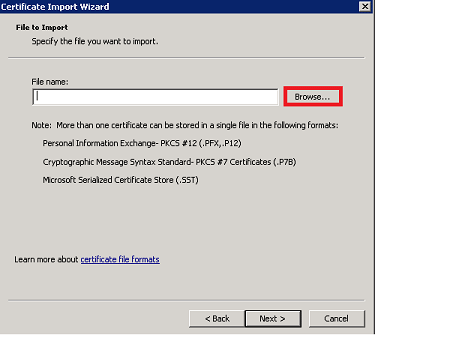
Click on Browse and select the certificate to be imported.
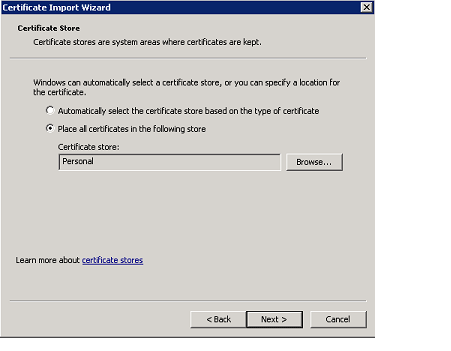
Click on Next.
Select where the certificated should be stored.
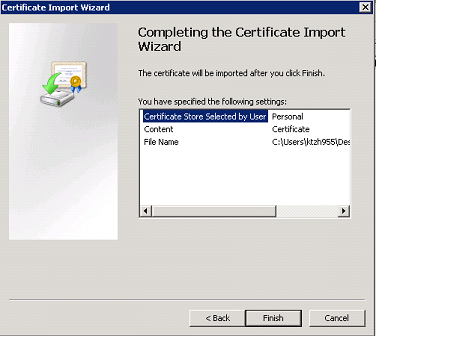
Click on Finish.
You will be getting the following pop up, click on Ok.




Comments