Introduction
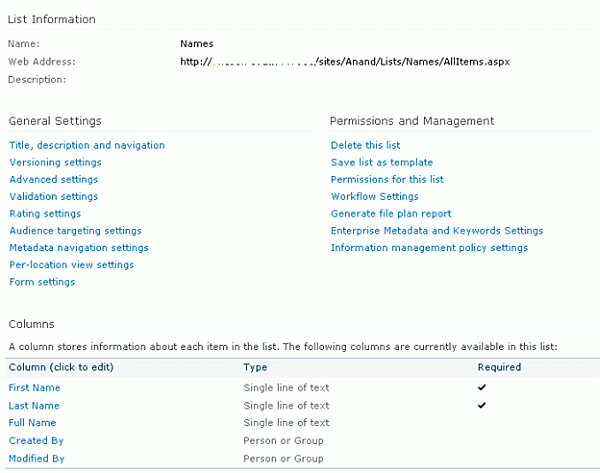
A User Defined Action is a set of workflow actions that takes input and output parameters that can be used multiple times in the workflow instead of recreating the same logic. This action can be scoped to the site, site collection or farm. The main purpose of creating a User Defined Action is reusability. In this article I will explain how to create a User Defined Action for NINTEX workflows in SharePoint using a very simple example. I have created a custom list named "Names" in which I have the following columns:
FirstName and LastName will be provided by the user and by running the workflow the FullName will be generated.
Create User Defined Action
Use the following procedure to create a User Defined Action:
Navigate to the SharePoint site.
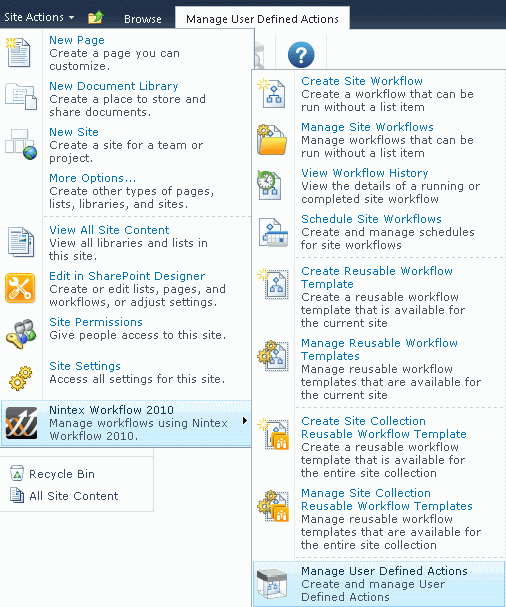
Click on "Site Actions".
Click on "Nintex Workflow 2010" and then click on "Manage User Defined Actions".
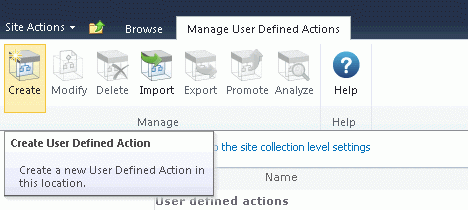
Click on the "Create" button in the ribbon interface.
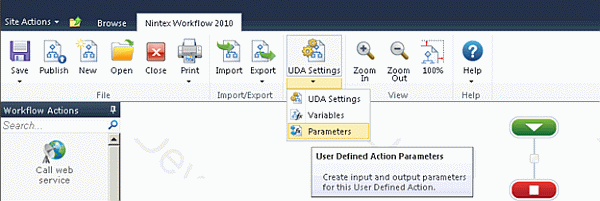
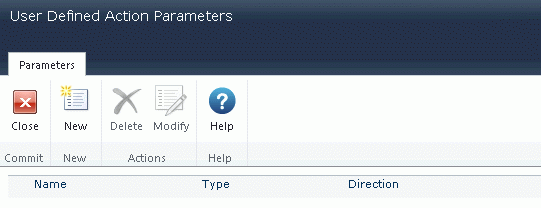
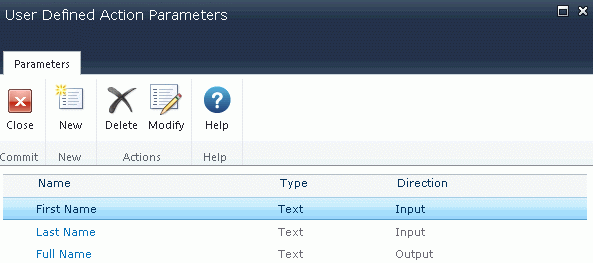
Click on "UDA Settings" and then click on "Parameters" to create input and output parameters.
Click on "New" button.
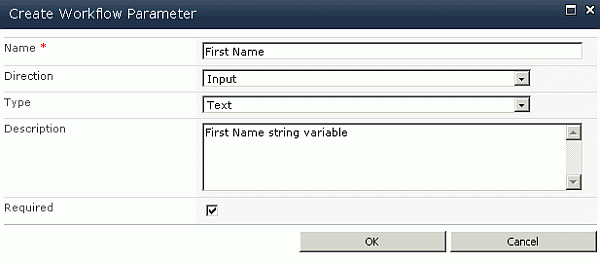
Enter the parameter details for First Name and click on "Ok".
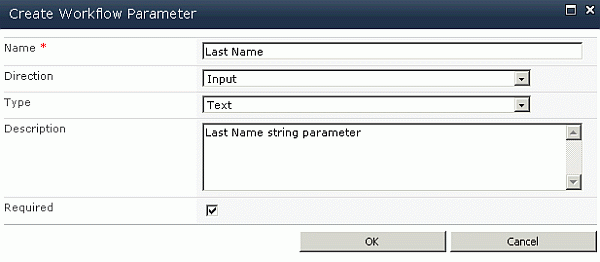
Similarly create a Last Name parameter.
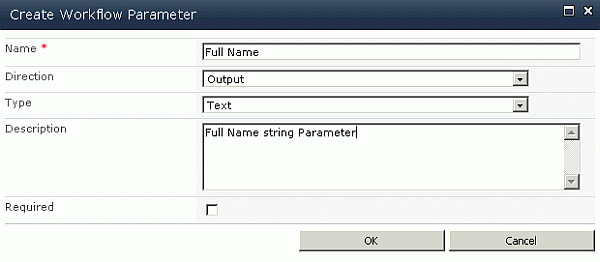
Create the output parameter.
All the input and output parameters are created
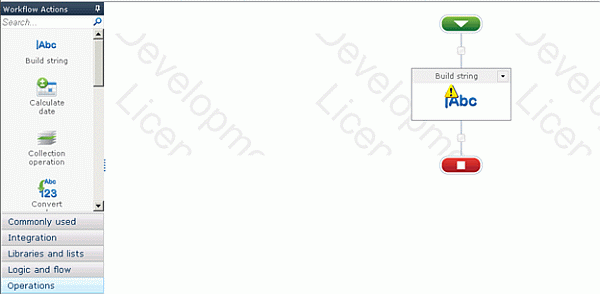
Drag and drop the "Build String" action from the Workflow Actions.
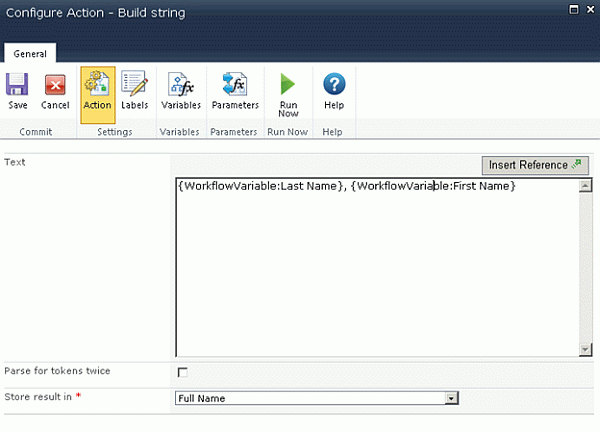
Click on "Configure" from the drop down list.Insert the workflow variables "[Last Name]", "[First Name]" as shown below and store the result in the output parameter "Full Name".
Publish the UDA
Click on the "Publish" button in the ribbon interface.
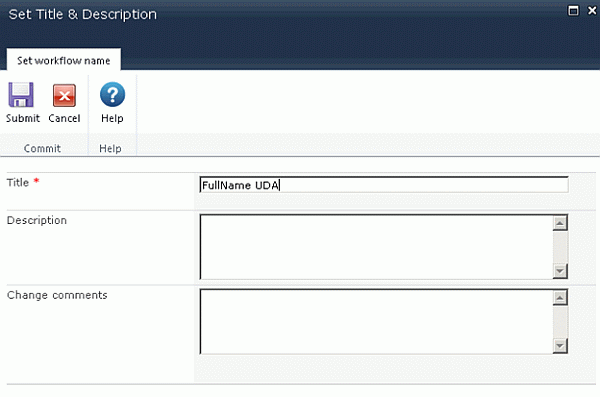
Make sure the Title is set; optionally you can set the values for Description and Change Comments.
Click on the "Submit" button.
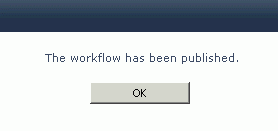
The UDA is published successfully.
The UDA is created successfully and it is defined at the team site level.
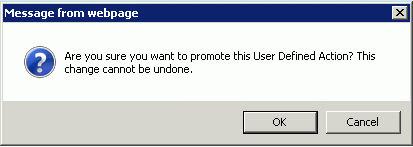
If you want to use it at the site collection level then click on the "Promote" button in the ribbon interface.
Click on "Ok".
Now the UDA can be used at the site collection level.
Create NINTEX list workflow
Use the following procedure to create a NINTEX list workflow:
Navigate to the Names list.
Click on the List tab and then click on "Workflow Settings".
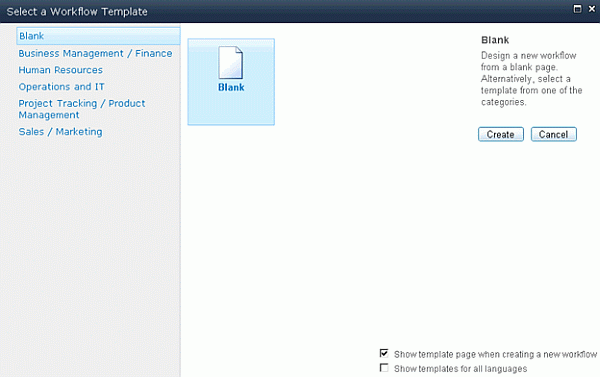
Click on "Create a Workflow in Nintex Workflow".
Click on "Cancel".
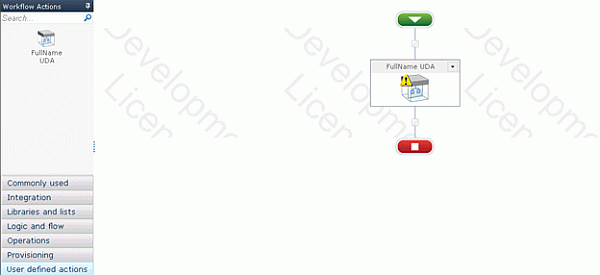
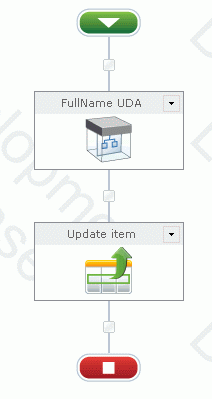
Drag and drop the FullName UDA action from "User Defined Actions" section
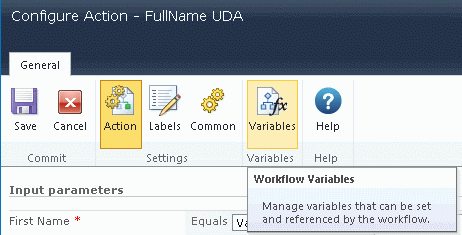
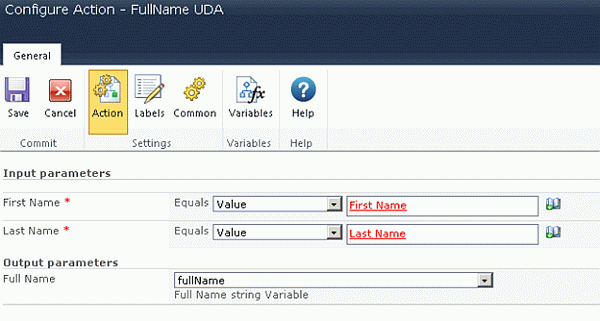
Click on "Configure" from the drop down list.
Click on the "Variables" button.
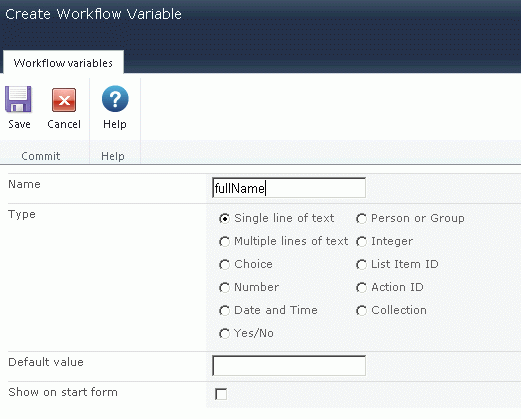
Click on "New".
Enter the following details.
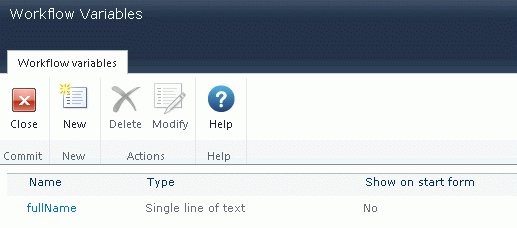
Click on "Save".The Variable is created successfully.
Click on the "Insert Reference" button for the First Name column and then click on the "Item Properties" tab. Select "First Name" and then click on "Ok".
Click on the "Insert Reference" button for the Last Name column and then click on the "Item Properties" tab. Select "Last Name" and then click on "Ok".
Select the fullName variable to store the output.
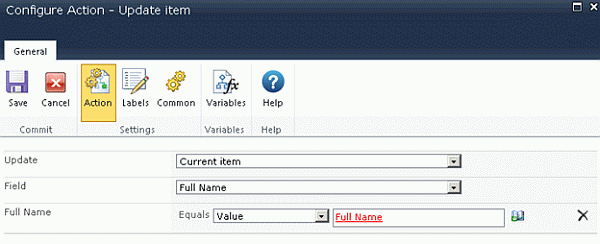
Click on "Save".Drag and drop the "Update Item" action from the workflow actions.
Click on "Configure" from the drop down list.Set the value as shown below.
Click on "Save".
Publish the workflow
Click on the "Publish" button in the ribbon interface.
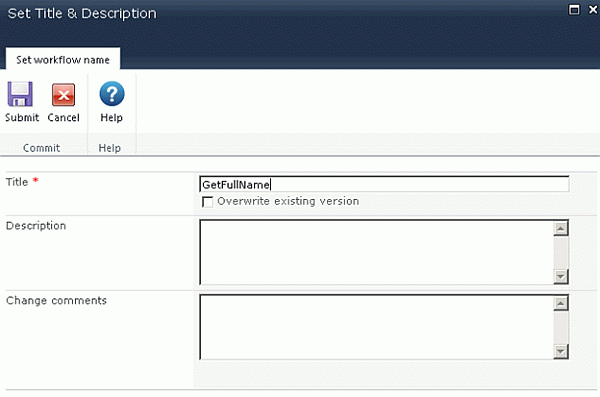
Make sure the Title is set; optionally you can set the values for Description and Change Comments.
Click on the "Submit" button.
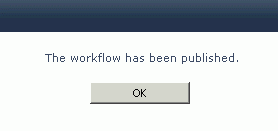
The workflow is published successfully.
Test the workflow
Navigate to the Names list.
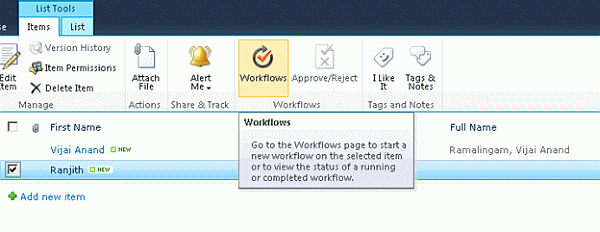
Select the item and then click on Workflows in the ribbon interface.
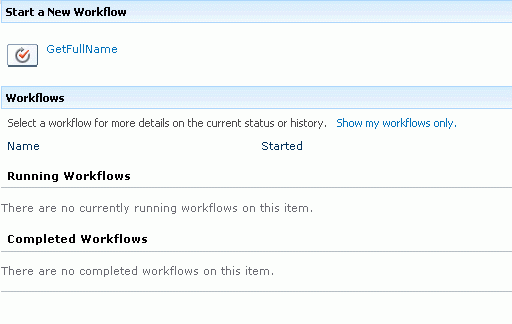
Click on GetFullName workflow and then click on the "Start" button.
After a few minutes the workflow status will be changed to Completed.
Full Name will be updated.
Summary
Thus in this article you saw how to create a User Defined Action for a NINTEX workflow in SharePoint.
Related Links









Comments