In this article, we will see how to configure cross site publishing features with managed navigation and how anonymous users can view the data from other site collections.
Create two site collections.
Authoring site collection
Publishing site collection
We will see how we can create a library in authoring site collections, configure it, publish it, and how it can be accessed from another site collection.
We will create Picture library in authoring site. Let us see an example of categorizing these pictures with multiple topics (Tags or Terms). Also, we will see how these pictures can be accessed by anonymous users who don’t have permissions to the Authoring site library. This can be achieved by restricting access to Authoring site with specific sets of people and providing access to large sets of people on the publishing site (Explained later in the section). So basically we are trying to make Authoring site as admin users site and Publishing site as Readers site.
From authoring site collection,
Navigate to site collection features page and enable the cross site publishing feature and SharePoint Server Publishing Infrastructure feature.
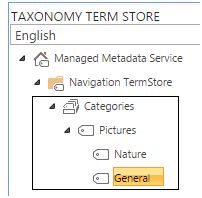
Create a term store with the following hierarchy.
I have created a term set called Categories and under the term set, a category called Pictures. Under Picture term, many sub terms are added (this will be used as managed metadata/tag values for list items created in future).
Create a list or library called Pictures.
Under the Pictures library, navigate to the library settings.
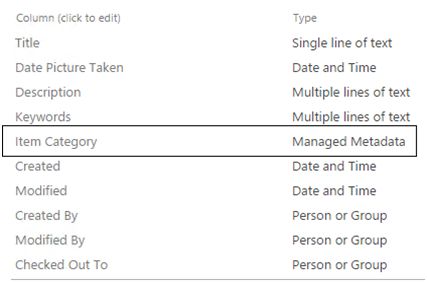
Create a new column called item category. (Note this is the column to be mapped to the term store created above).
1. Name the column as Item Category.
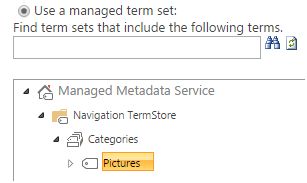
2. Under term settings, expand the managed metadata term store and map the column to Pictures
category.
3. Save the column.
Add items to the list.
While adding new item, map the item to appropriate category using item category column.
Under Library settings, click on catalog settings (This enables the library as catalog.)
Check “Enable this library as catalog option”.
Enable Anonymous access (This will enable anonymous access to users under your organization).
Under Catalog Item URL Fields section, select the Title/ID column to selected fields section. (Ensures unique URL to each items under the library).
From the navigation hierarchy dropdown, select the managed metadata column we have created for the list. (In our case, select Item category).
Now you have published your catalog and the content from this library can be accessed from other site collections.
Accessing data from publishing site
Go to Central Administration site.
Navigate to “Manage service applications” under Application Management section.
Click on the search service application:
a. Go to content sources under Crawling section.
b. Run the full crawl. (This will in turn create necessary indexes for the library),
Note: The publishing site will populate the data only if Full Crawl/Incremental crawl runs. So, crawl should run periodically for creating indexes. Once the first crawl completes, the library will be available on the publishing site’s catalog connection section.
From Publishing Site collection,
Navigate to site permissions from site settings page.
Click on grant permissions.
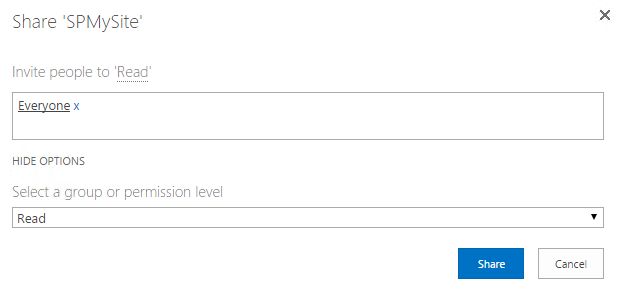
Provide access to “everyone”. (Note: The permissions for users for authoring site can only be restricted to Admins or specific sets of people).
Navigate to site collection features page and enable the publishing feature.
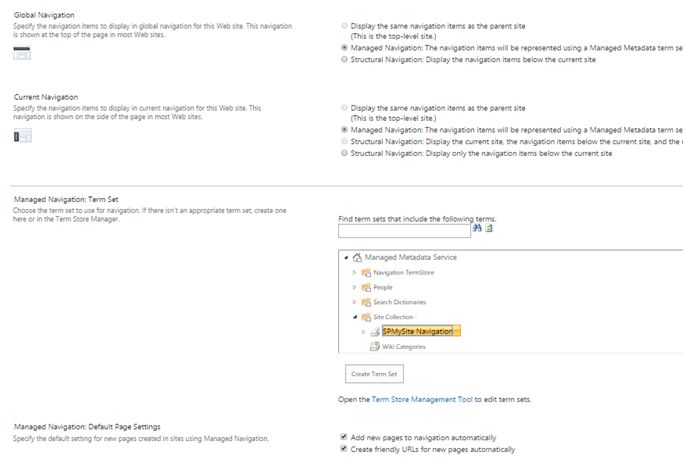
Navigate to Navigation under Look and Feel section.
Select managed navigation under global and current navigations.
From term set section, under the publishing site collection create site navigation term set if not created. (In our case, SPMySite Navigation).
Then click on Ok.
Navigate to Manage catalog connections under site settings.
Click on “Connect to catalog” (This will list down all the catalogs published from other site collections),
1. From the list available, click Connect on the picture library listed.
2. Under Catalog Source Settings, you could see the drop down (In our case, Item category
column) and root term hierarchy values are set under navigation settings section. (Note: If not
set, please select the managed metadata column we have created and the category we have
created under metadata store).
3. Select the include root term check box. (This will enable the term set hierarchy to be used in building URLs. For example in our case, the URL to be used to show the items will be
~/ sites/ SPMySite/Pictures/[Title]).
4. Click on Ok.
5. The category page and item page will be created by default to show the library items. (Note: If
you wish to develop custom components and display the values, then create new pages and map
it. The new pages implementation is not explained in this section).
6. Once saved, if you view the Manage Catalog Connection section it will show the catalog name
along with disconnect option.
(Note: You can disconnect anytime to stop sharing the content to other sites.)
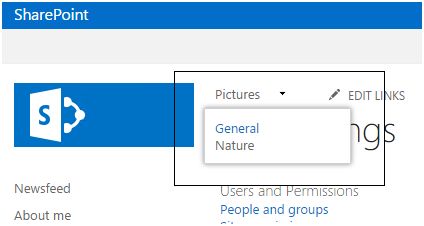
Then on top of the site, you can see the top navigation populated.
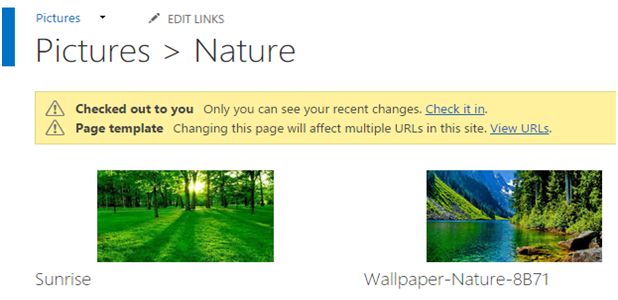
The following shows the pictures from the Authoring site (The following snapshot is an catalog page. On clicking of any item, it will show the image details - item pages).
So, we have successfully pushed the content on to Authoring site and populated the same on publishing site. Actually this works using search driven architecture. The data from the Authoring site is not pushed to Publishing site. But, publishing site reads the data from Authoring site using search indexes. The category and index pages uses search web parts to show the data.
Read more articles on SharePoint:








Comments